
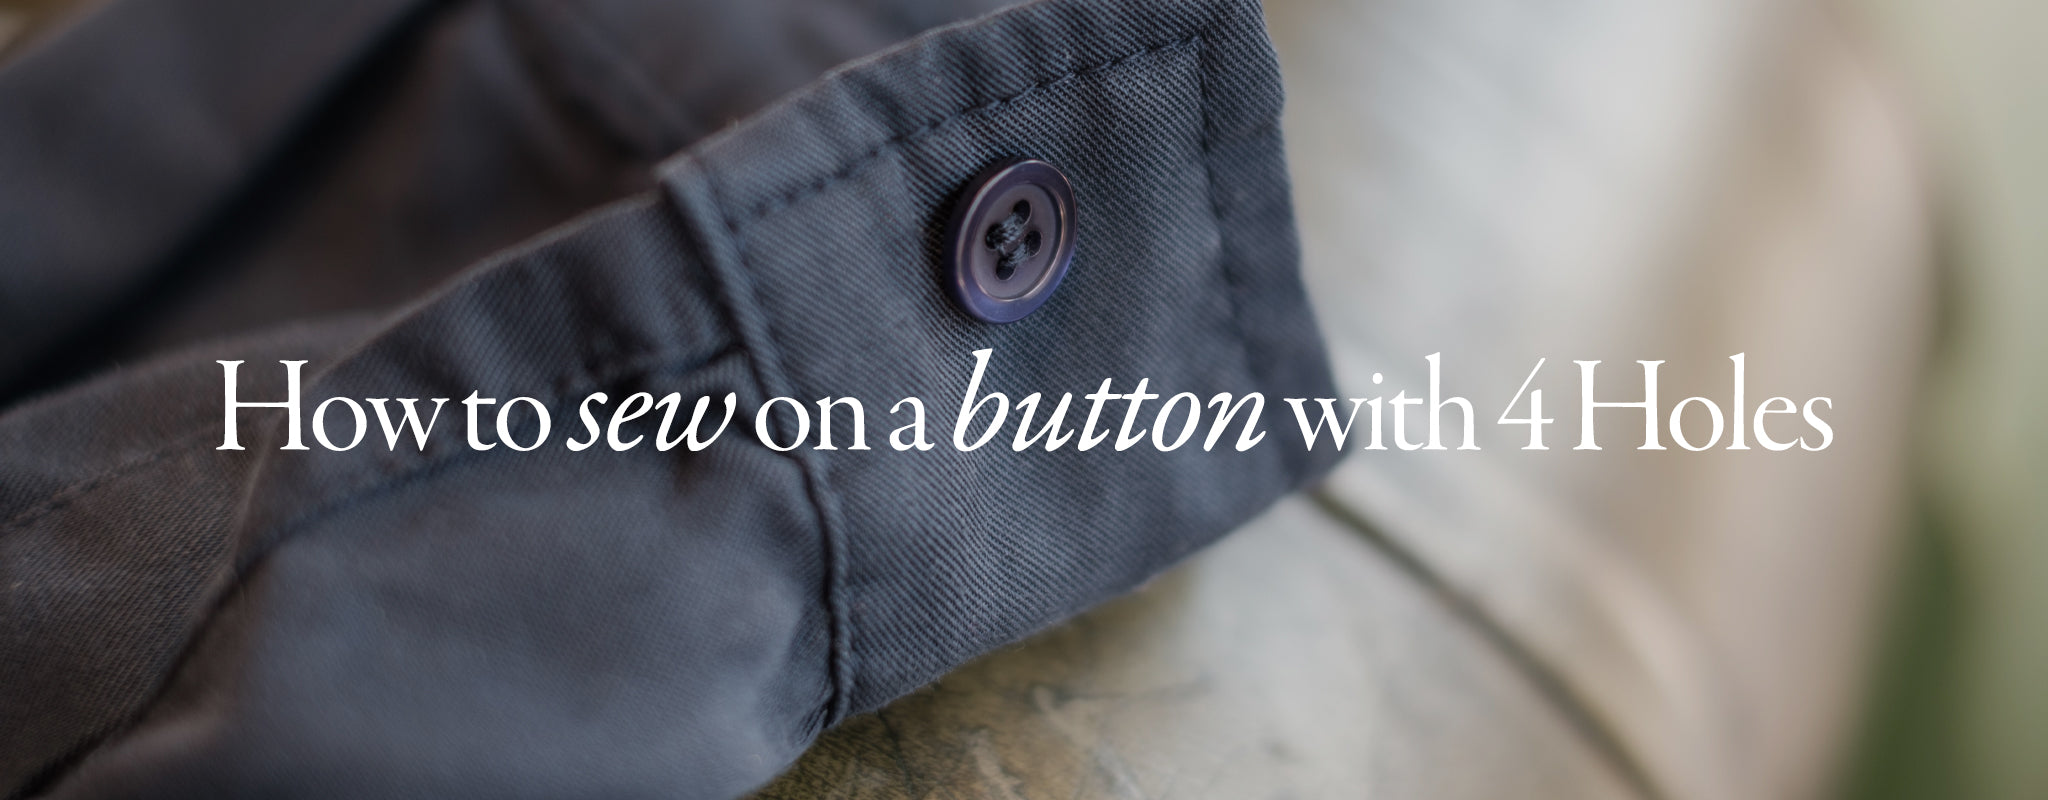
The basic steps involved in sewing a button with 4 holes are essentially the same as sewing the buttons with 2 holes. The only difference is in the pattern! Yes, the 4 holes button is stitched in two different patterns: Either diagonal stitching to create a cross shape or parallel stitching for a straight stitch.
Things you will need:
- Sewing needle
- Scissors
- Thread
- Replacement buttons
If you need to learn how to sew a button on a shirt or other item of clothing with four holes, these are the steps you need to follow:
1. Figure out the pattern of the stitching by looking at other buttons on the garment to ensure all buttons look the same.
2. Find a replacement button for the garment that should either resembles the previous buttons or compliment the colour of fabric. Remember to check your garment for replacement buttons as they are usually attached with the care label or sewn inside the shirt.
3. Find the point for sewing the button. This can be easily spotted from the old stitching. In case you cannot see the old stitching, measure the distance between buttons or compare with the hole to ensure the correct position. Mark the point with pencil or a pen.
4. Thread your needle with a 60 cm long thread, double the thread and knot the end. Choose a thinner needle for blouses but choose something slightly sturdier if you’re sewing through heavy fabric.
5. Push the needle through the fabric and the first hole. Continue to pass it until the whole thread is out and the knot hits the fabric.
6. Then, push the needle through the second hole. However, the second hole should be selected based on stitching pattern we figured out earlier. If your buttons need a straight stitch, push the needle down through the opposite hole and fabric. Alternatively, you will need to work diagonally if you wish to create a cross shape.
7. Now, repeat the process but this time start with hole opposite to the one you began. Take care to pull the thread taught every time the needle passes through the fabric.
8. Keep repeating the process and wind the thread around the button several times while maintaining the pattern, before passing back through to the underside.
9. In the end, secure the end of the thread by passing the needle under the stitches at the back of the fabric a few times and finish it off by pulling the needle through a final loop.
10. Cut off the extra thread and the garment is ready to be buttoned up!